In almost every manufacturing operation, regardless of the materials used, the surface finish is usually the last step, and possibly the most important one in creating a solid and durable product. In our everyday lives, we’re always in contact with several appliances, equipment, and products that either have a finished surface or require parts with a surface finish. This is why such processes constitute a necessity in most industries.
The several surface finishing processes all share a similar functionality of enhancing the surface of a substrate. As such, the material’s surface is rendered more uniform, with a smoother texture. However, these different methods each have specific characteristics and different uses, depending on how they alter the surface of a product in terms of corrosion and wear resistance, texture, coloring, and coating. Besides the technical advantages, a consistent surface finish can also add value to a product. It enhances the aesthetic appeal and overall appearance. As for components and industrial or mechanical parts, it improves performance and durability as well as the parts’ fit for usages requiring tight tolerances.
Most of the standard finishing processes in industrial usages are usually applied to a wide range of soft and heavy metals like cast iron, steel, and aluminum. With the recent developments in manufacture and technology, industrial and machining surface finishing techniques are now also applicable to more brittle materials that have previously been finished manually. These materials can include pitch, ceramic, glass, some types of stone as well as plastic.
As diverse as surface finishes are, they can essentially be defined as a process employed to alter the surface of an item (or substrate) to achieve a certain property. The exact desired surface finish is determined by specific parameters. Roughness is quantified by the deviation between peaks and valleys in the surface. Waviness, which is rather similar to roughness, is strictly defined as irregularities wider than the average roughness sampling length. The final parameter is lay, and it refers to the directionality of the surface’s dominant pattern.
Regardless of the preferred method or process, surface finishing, in general, requires the utmost accuracy and in some cases constant monitoring of some parameters. As such, this is a very delicate process. By now, there are several standards and criteria regulating most surface finishing processes.
Charts And Symbols
In CNC machining, there is a wide range of surface finishing charts that can be employed. The most widely used one is the roughness chart, which shows a graphic representation of the surface’s roughness. This can be used to help determine the best machining process for a given surface. Along with a standard chart for different surface finishes, which shows the measurements of different surface textures, both can be used to determine whether a surface is within the desired tolerances. As a best practice, using this chart along with the roughness chart can help operators understand exactly what parameters they need to stay within.
These charts often include several guiding symbols, which can be present in technical drawings as well. These symbols indicate the appearance of a surface after it has been machined. Each of these symbols has a specific meaning and can be used to describe different aspects of a surface finish:
- Ra – Average Roughness: Ra is a measure of the average roughness of a surface. It is a unitless quantity that expresses the average height of the surface irregularities, or peaks and valleys, over a given length.
- Rz – Average Maximum Height of the Profile: Rz calculates the average difference between the five largest peaks and valleys. This measurement is done using five different sampling lengths, to eliminate any errors. Ra is quite insensitive to some extremes, so this calculation is very helpful.
- Rmax – Vertical Distance from Peak to Valley: Rmax is more sensitive to anomalies such as burrs and scratches that cannot be seen only by Ra.
- RMS- Roughness average magnitude surface: The RMS- roughness average magnitude surface is a surface that is used to measure the average roughness of a surface. This surface is created by taking the absolute value of the surface’s RMS roughness magnitude.
- PE- Profile roughness: The profile roughness of a material is a measure of the size and distribution of the surface irregularities. It is usually expressed in terms of the height of the largest peak or the depth of the deepest valley on the surface.
- PS- Profile smoothness: Profile smoothness is the average area of flat surfaces in a profile of a surface. It is usually expressed in terms of the breadth of the flattest section of the surface or the thickness of the thinnest portion of the surface.
- PT- Profile tolerances: Profile tolerances are the allowable deviations from a nominal profile. They are important to ensure that parts fit together correctly and perform as intended. Profile tolerances are specified in terms of the maximum allowable deviation from the nominal profile at any point along the part’s length.
Learn more about Surface Finishes Chart for CNC Machining
Symbols and Standards
Surface finishing symbols on the other hand serve a slightly different function in industrial operations. They visually designate the results of a machining process to specify the processes employed for a specific surface finish. The main purpose is to help find and identify pieces that have been machined by specific processes without having to research individual machines. This can save a great deal of time and effort for both customers and suppliers.
These symbols can also indicate the quality of a surface. They can be used to describe the appearance of a surface or the feel of a surface. Different parts of the world have different surface finish symbols and standards. The ANSI standard is commonly used in the United States, while the ISO standard is more popular elsewhere in the world.
The ISO surface finish symbols
The ISO surface finish symbols provide a standard for the surface finish of manufactured components. Each symbol is used to communicate the surface finish to engineers and manufacturers and can be used as a reference for the surface finish of different items. There are a variety of different symbols, each representing a different surface finish.

ANSI Surface Finish Symbols:
The American National Standards Institute (ANSI) has a set of surface finish symbols used to indicate the quality of a surface. Most manufacturers and buyers are familiar with these symbols as standard for surface finish quality.
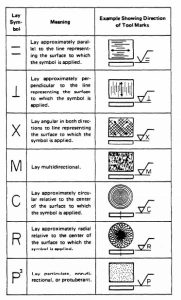
Learn more about the Different Types of Surface Finishing Symbols and their Meanings
Mill Finish
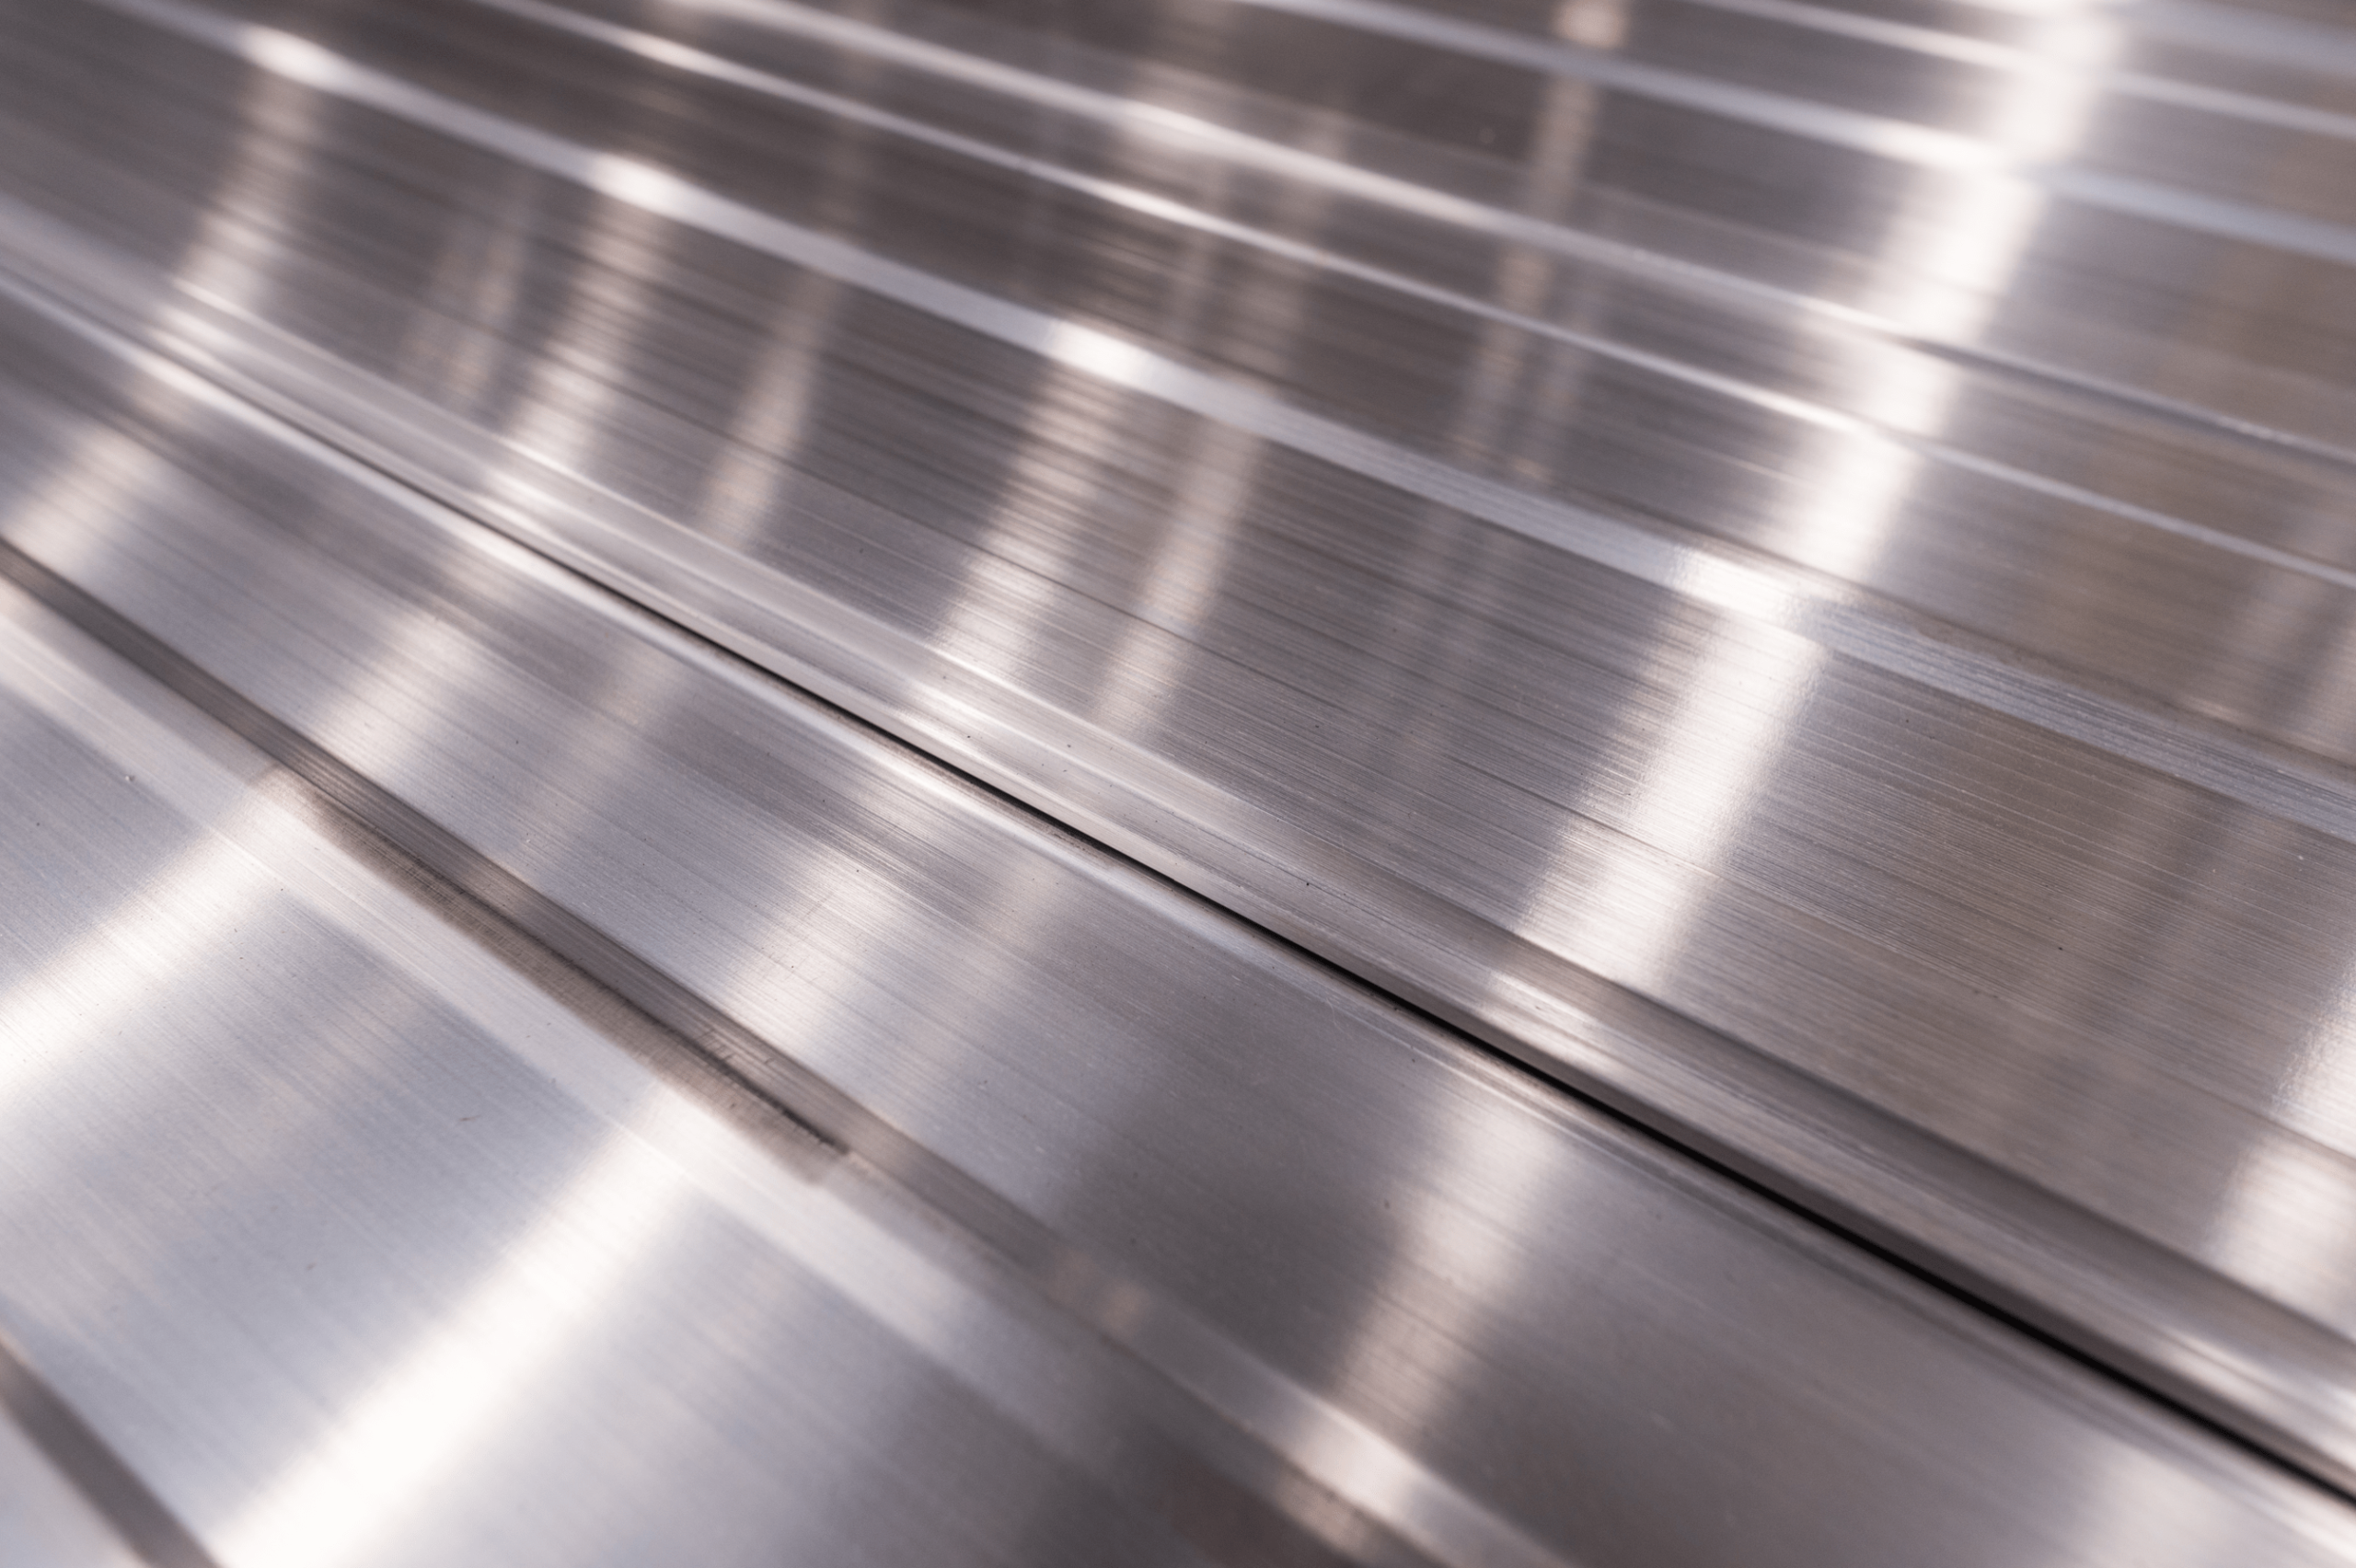
Surface finish processes tend to be the final stage in most manufacturing operations. Before the application of any finishing method, the material comes into the chain in its raw form. Metals are by far the most common materials for most industrial applications. The raw material is prepared for the surface finish after exiting the milling process. As a standard in many industries, the raw grainy texture of the raw, industrial-use ready metal is usually referred to as a mill finish.
In most manufacturing operations, the last process a substrate goes through before the surface finish is milling. The overall shape of an industrial part is created in this stage, leaving a rough and coarse texture to the substrate. This is most common for aluminum and most metals but is also a standard process for other materials used in subtractive manufacturing.
This rough and unpolished texture lacks brightness and has low reflectivity. It can also contain some trace amounts of mill oil or oxidation spots on the outer layer. Mill finishes are usually considered raw or unfinished, requiring a surface processing step to create the final appearance of the component. Essentially, a mill finish is almost a requirement for surface finishing processes, providing the accurate measurements, and precise angles of a component before applying a finish.
Importance of a Mill Finish:
Although a mill finish is an unfinished component texture, it is very sought after by manufacturers and builders. Besides being the standard form in which raw metals enter the manufacturing process in several industries, it also offers a greater degree of customization for manufacturers and designers. In most industrial uses metal parts or bars are processed into a coherent component, or final product comprising different pieces. Likewise, the optimal surface finish is determined by the final usage of the product, among other factors, which significantly guide the sealing and coating of the material. This arrangement method allows for a consistent appearance and functionality of the final product or component.
cURL Too many subrequests.
cURL Too many subrequests. cURL Too many subrequests. ja cURL Too many subrequests. cURL Too many subrequests.
cURL Too many subrequests., cURL Too many subrequests. cURL Too many subrequests.
cURL Too many subrequests.
cURL Too many subrequests.
cURL Too many subrequests.
cURL Too many subrequests.
cURL Too many subrequests.
cURL Too many subrequests. cURL Too many subrequests.
cURL Too many subrequests. cURL Too many subrequests.. cURL Too many subrequests.
cURL Too many subrequests.
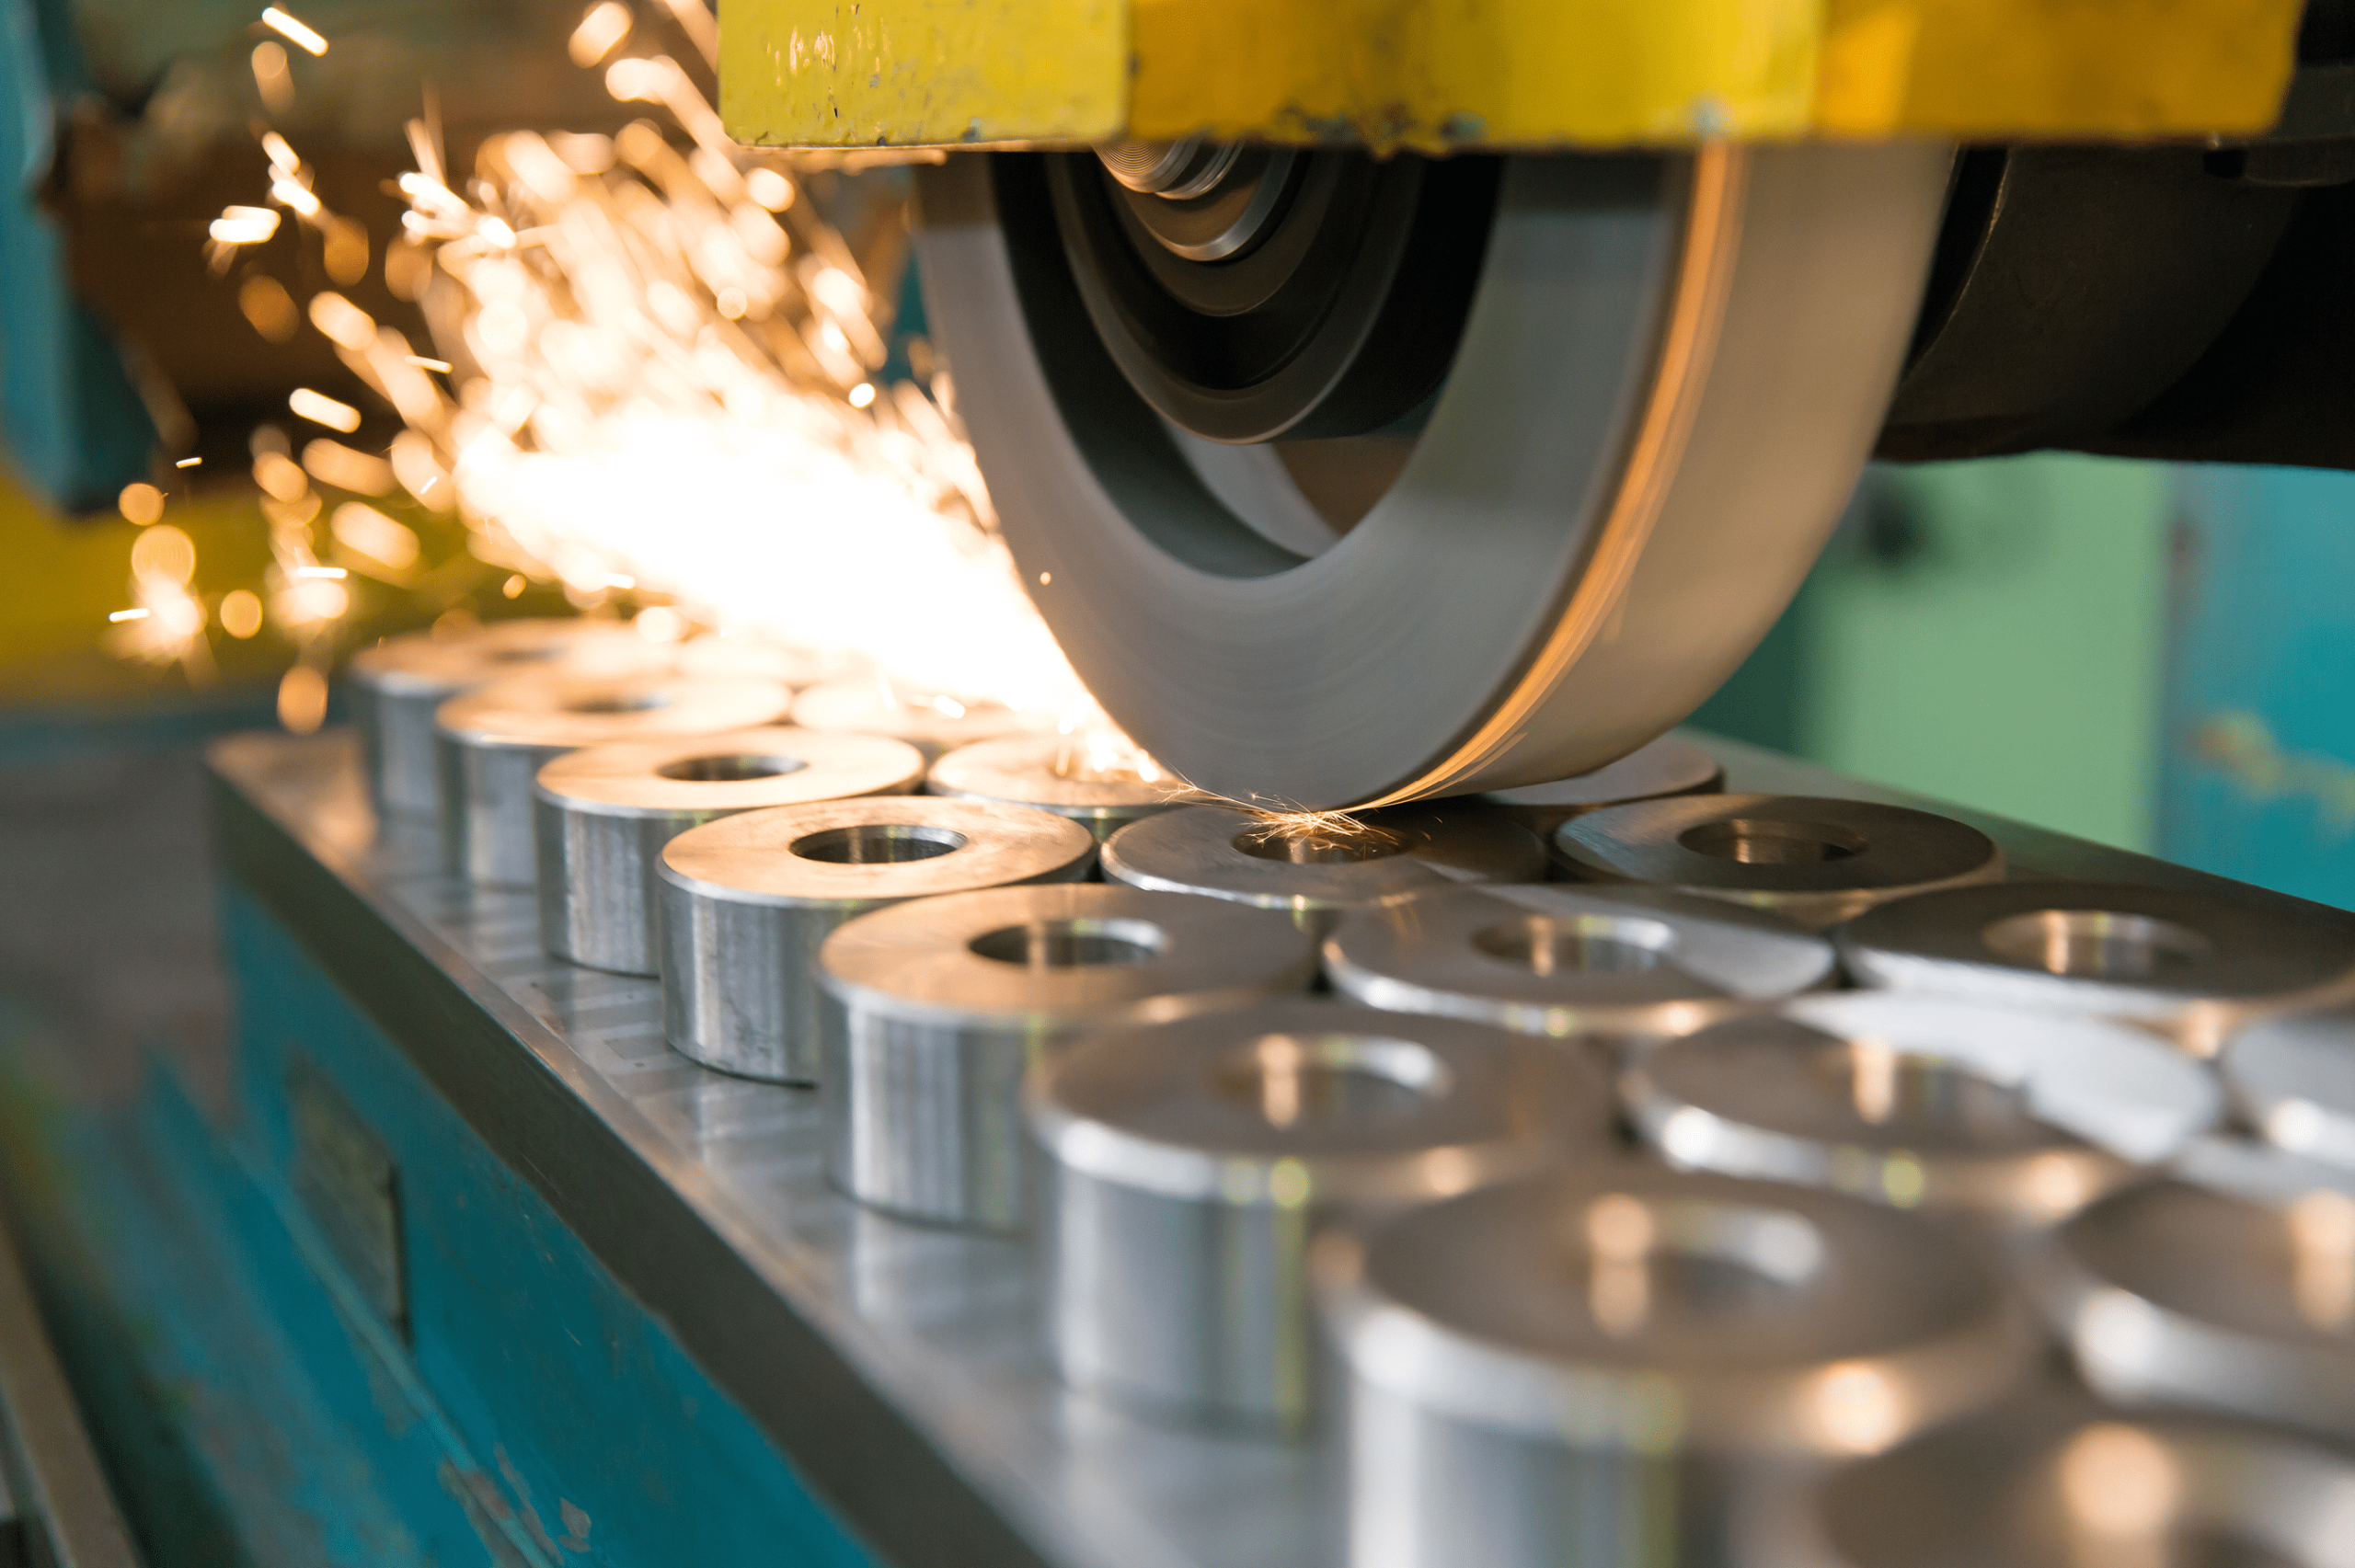
There are several similarities between the two processes and are both employed for the same effect, but they differ in some key aspects. Machining lapping is a loose abrasive process (LAP) and relies mainly on the abrasive mixture. This liquid cutting tool, or a Slurry, is a mixture of abrasive grains and a water-based or oil-based solution. In a batch process, the abrasive mixture is spread across the flat lap plate. The workpiece is held in place using the retaining rings. The parts are then dragged across the lapping plate surface in a circular motion.
Grinding differs in using an abrasive wheel (or grinding wheel) usually composed of the same abrasive material used to make the Slurry mixture, and conform to the same parameters of abrasive grain size and friability. The two processes can also differ in terms of material. Grinding is mostly compatible with harder materials like metal and glass. However, machining lapping is more compatible with brittle materials like pitch, ceramic, and some types of stone.
Throughout the grinding or lapping process, surface accuracy (or surface flatness) and roughness are closely monitored. Roughness is measured usually in microns, or by quantifying the averaging the variances of peaks and valleys (Ra value). while accuracy, or flatness, is measured in Helium Light Bands (HLB). Light interference is now an increasingly precise measuring technique, employing lights with the smallest wavelength.
The required levels of surface roughness determine the choice of the abrasive. Abrasive particles of smaller grain size (less than .025 micron) like aluminum oxide are more conducive to very fine, almost undetectable micro scratches, and produce a fine finish.
Harjaus
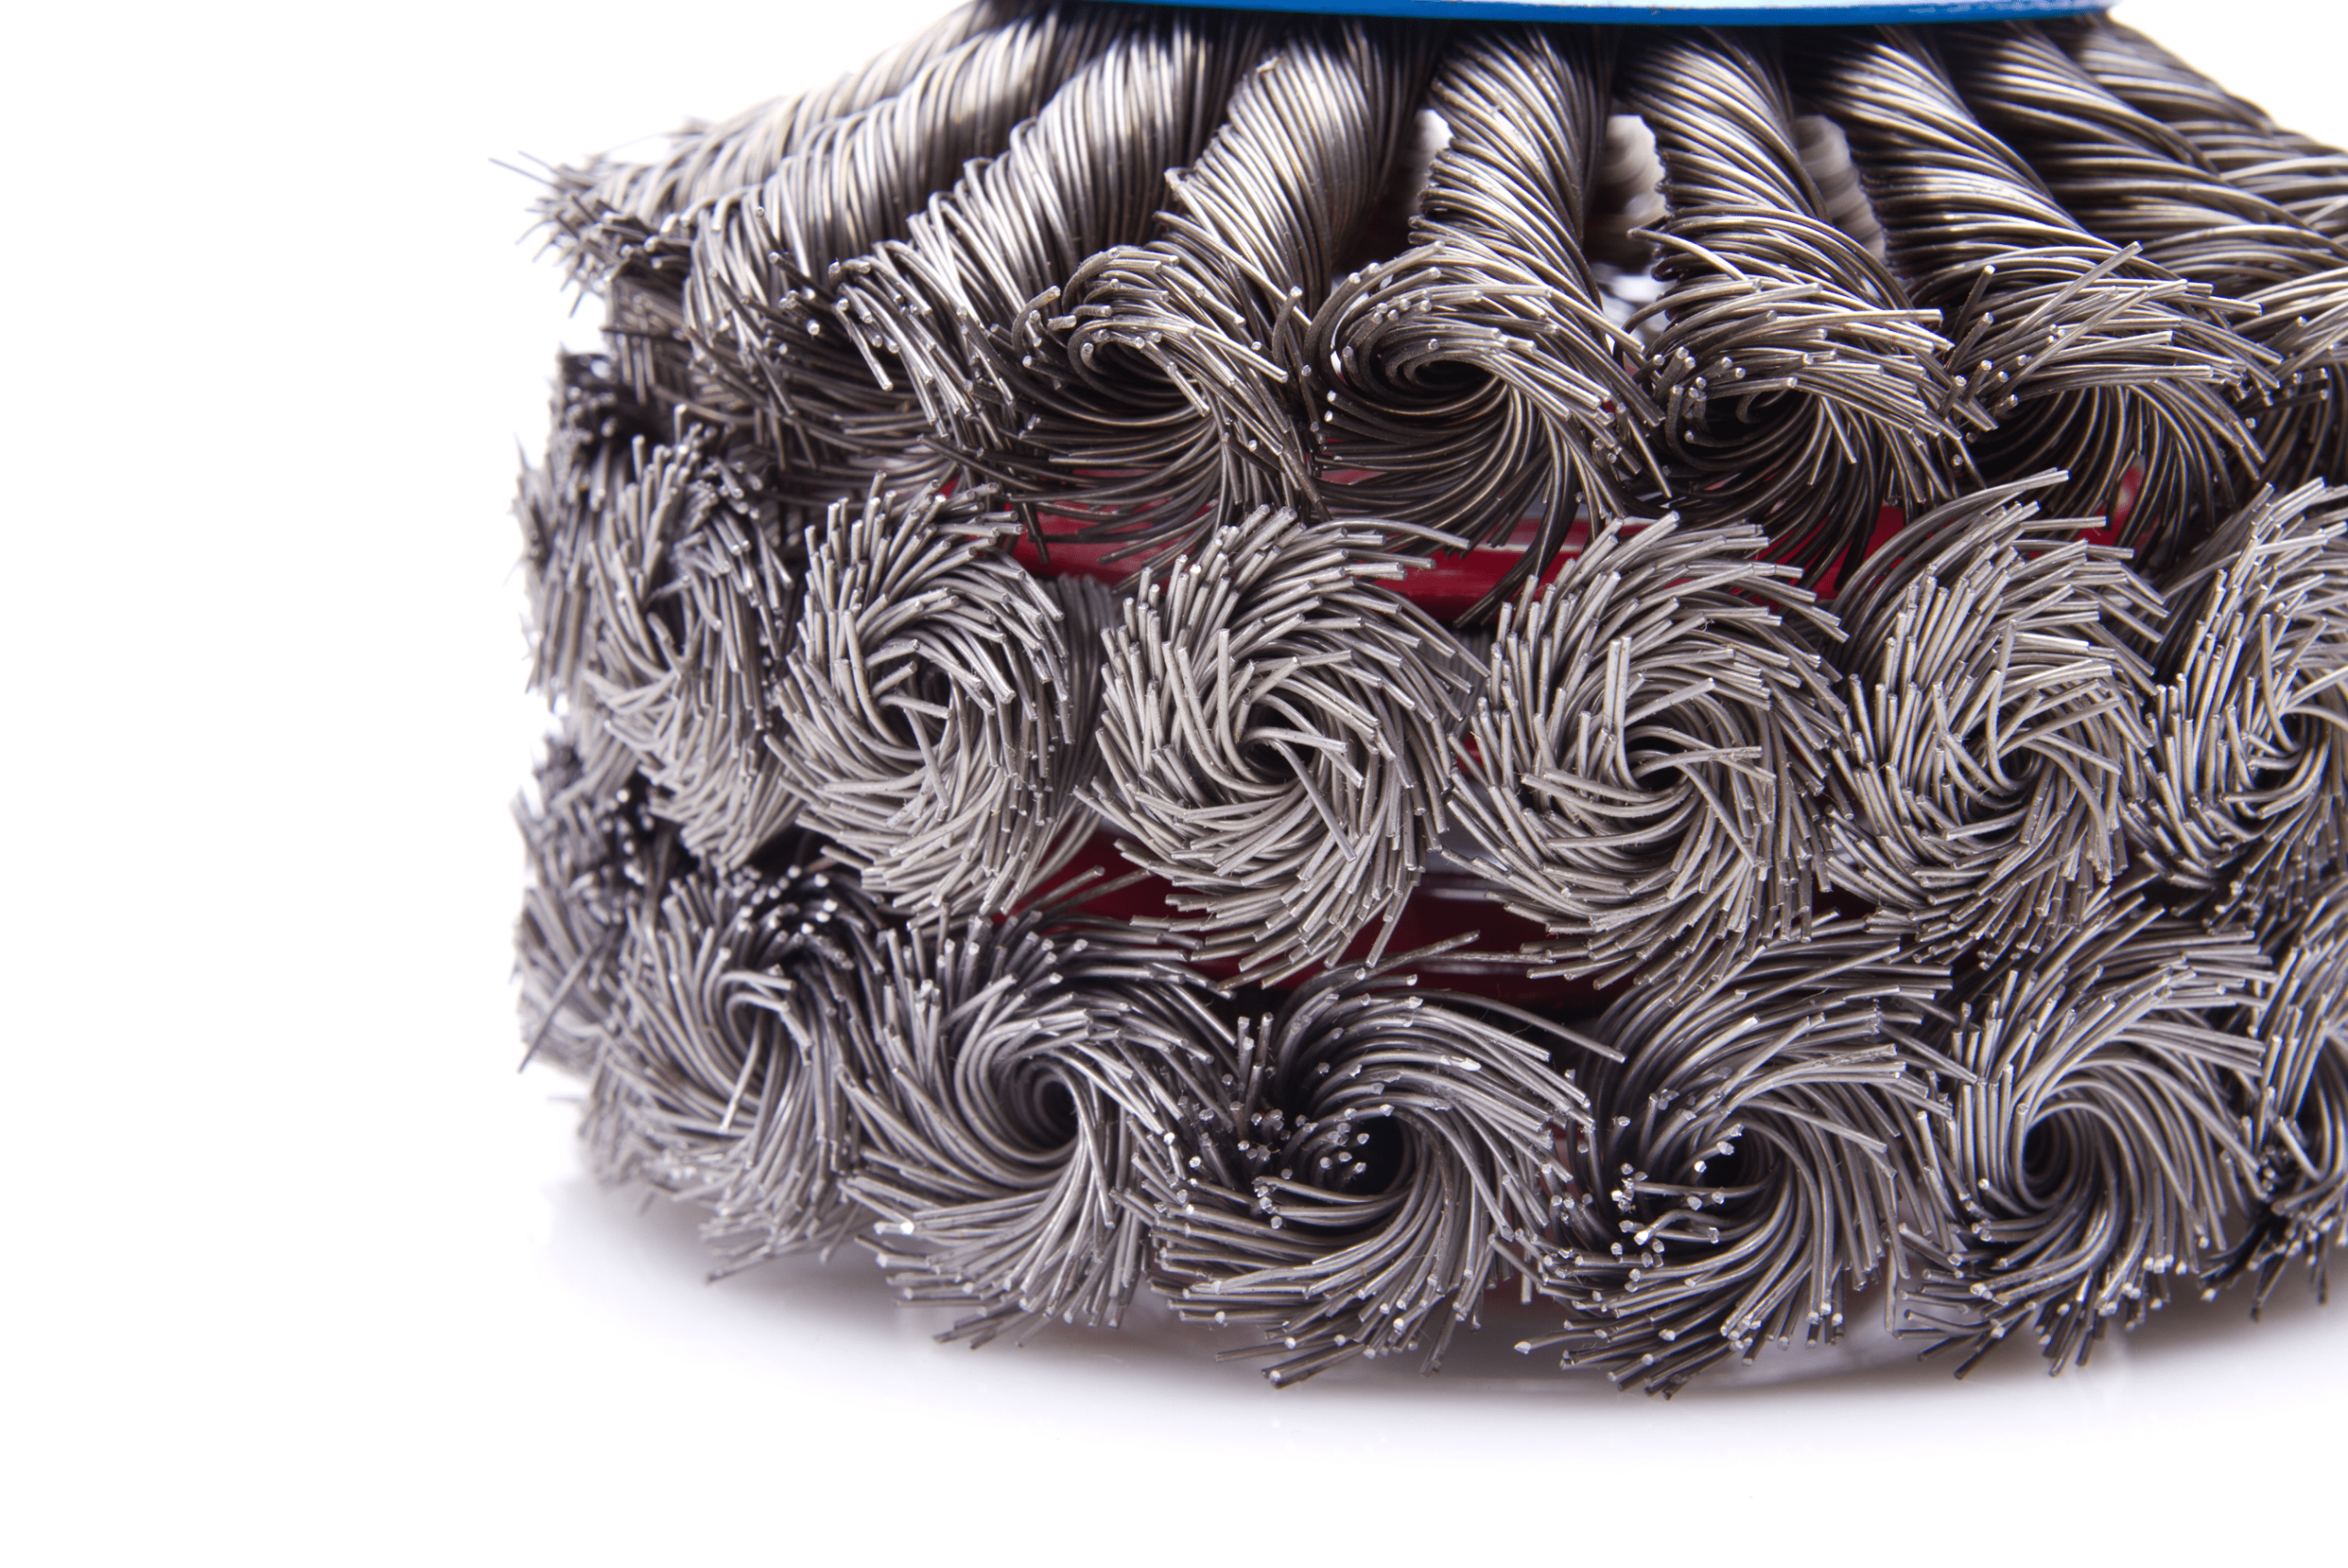
The brushing process is usually most commonly used for metal surfaces, in industrial applications. The process begins with cleaning the substrate or workpiece. The surface is then sanded with fine-grit sandpaper to remove any scratches or blemishes. Next, a metal brush is used to apply the desired finish to the metal surface, moving in a circular motion at various speeds, depending on the desired finish and material. Finally, the surface is rinsed to remove any metal residue.
Metalliharjalla voidaan levittää erilaisia viimeistelyjä, kuten kiillotettua metallia, chrome, and nickel plating, brushed aluminum finishing, steel brushing, and more. The type of metal being polished by brushing, and the desired surface finish both determine the thickness of the finish applied. The metal brushing process is also known as a mechanical polishing process.
Process Brushes:
There are many types of metal brushes available on the market. For instance, most metal finishing tools have either a round or rectangular shape, with varying sizes. Additionally, some metal finishing tools include long and thin synthetic bristles, usually applied to apply high surface contact. These synthetic bristles are an optimal choice for most metal polishing applications as they can produce even fine surface textures.
Abrasive brushes are widely used to finish surfaces. The abrasive tools used for brushing can create perfect finishes on uneven surfaces, resulting in a beautiful brushed metal finish. The several surface finishes achievable by brushing are quite diverse and can be adapted for a broad range of applications. Abrasive brushes are high performance. Their main advantage is the ability to produce exceptionally smooth finishes on even the most irregular surfaces.
Sovellukset:
Brushing produces a smooth finish with a recognizable texture. Besides its wide range of applications, brushing can also be applied to preserve metal and protect surfaces from scratches and damage. The technique is typically used in a variety of applications, among which are:
- Reunojen poistaminen: is the removal of sharp edges and burrs from a metal surface. This is achieved with metal finishing brushes used specifically for CNC deburring. They can also help remove sharp edges, and prevent rust and corrosion of metal parts.
- Reunojen sulauttaminen: Another application of brushing finish is to smooth out the transition between two different surfaces. This can often make the edge more uniform and prevent it from causing a tear in the material with which it comes in contact. Using the brushing finish technique works best for creating sharp, crisp edges.
- Puhdistus: Abrasive brushes are effective in surface preparation for other surface finish processes, or a more exhaustive brush for effect. These brushes can remove dirt, film, rust, weld slag, and other contaminants from a surface.
- Roughing: The brushing finish can also be applied to create rough surfaces. The roughening leaves less surface area to catch dirt and debris and is easier to clean.
Learn more about the Brushing Finish Process
Kiillotus
Metals are some of the most resistant and reliable materials available. They’re versatile in their industrial and mechanical applications due to their strength. This makes them often in contact with degrading elements or conditions, like air, heat, and high electrical current density. This need to preserve strong materials from corrosion and wear is what makes polishing one of the most widely applied surface finish processes.
This process can contribute significantly to the aesthetic appeal, functionality, and is optimal for components with tight tolerances. Polishing also prevents contamination of metal parts and removes oxidation. Surface polishing has been in application for many centuries. It has also been used on a variety of materials, ranging from copper and metals to glass and wood. Industrial applications of this process differ in their focus on more solid materials, notably metals.
The process is mostly mechanical in the sense that relies on friction to make the substrate’s surface more uniformly flat, smooth and consistent. It applies the same principle as grinding or lapping but is still different in many regards. Depending on the specific metal used, polishing finishes come in several varieties, and to differing effects. Polishing can often keep a surface in excellent conditions, yet requires specific measurements and design guidelines to harness its full potential.
Polishing and Buffing:
Se surface polishing process is sometimes also referred to as buffing, although there is a slight difference between the two. Buffing is usually the final or latter stages of the process. This is designed to improve the small imperfections in the surface, not visible to the naked eye. The general process, or principle, of polishing, has now expanded and can be adapted by using newer methods like electrolytic polishing, or chemical polishing.
Polishing usually begins with the usage of a rough abrasive of higher grain size. This depends on the material of the workpiece and its surface. The aim here is to remove the major imperfections; convexities, scratches, lines, or pits. The process begins with the application of an abrasive, in an oil-based mixture, polishing pads and buffing wheels, and later on, employs abrasive grains of a smaller size. This transition from larger grains to smaller ones refines the minute valleys and peaks, and manufacturers often use this method to obtain a reflective surface, or mirror finish, using high-speed polishing machines.
The currently used polishing methods can apply to more materials. The most used materials in many subtractive manufacture and CNC machining usages, although more brittle metals like brass, silver, and gold are also polished, as well as plastic. The substrate’s material and the desired finish largely determine the choice of buffing compound (abrasive), the process is organized into three main stages. Rough, Initial buff, and final buff, each using finer and finer abrasive grain size, significantly impacting the polish finish.
The wafers, or buffing wheels, differ in terms of material as well as usage. Each type is used for specific steps of the process. Canton flannel, string, and sisal fiber are amongst the most commonly used. Similarly, the buffing compound is also specified for distinct usages and is categorized by color.
Precision Requirements:
As a detail-reliant task, polishing and buffing rely on several decisions and choices that are determined by the required finish. The choice of abrasive type and buffing wheel are prime examples. The surface finish is vulnerable to many subtleties of polishing. There are a variety of buffing wheels, made from different abrasive materials, but abrasive discs with polyester fillings are preferred as they can achieve a more uniform and consistent finish.
Each abrasive compound is specific to a distinct material of the buffing wheel. However, it is possible to use a buffing wheel for different materials as long as it is thoroughly cleaned from the compound residue before usage. Like most surface finishing processes, polishing too requires pre-treatment. The surface should be cleaned, and have any lacquer removed to ensure better contact between the substrate and the buffing wheel.
Learn more about Polishing
Helmiäiskarhinta
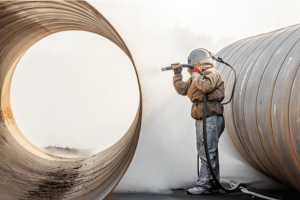
The bead blasting process consists of propelling beads towards a workpiece or substrate through small-gauge holes in a cup. This essentially removes the outer material away from the substrate and takes surface coating off metal objects. There could be several expensive tools and appliances requiring the removal of a surface coating or oxidation layer. This process smoothens surfaces to ensure a better contact with other materials.
cURL Too many subrequests.
cURL Too many subrequests.
cURL Too many subrequests.
cURL Too many subrequests.
cURL Too many subrequests.
cURL Too many subrequests.
cURL Too many subrequests.
cURL Too many subrequests.
Anodisointi
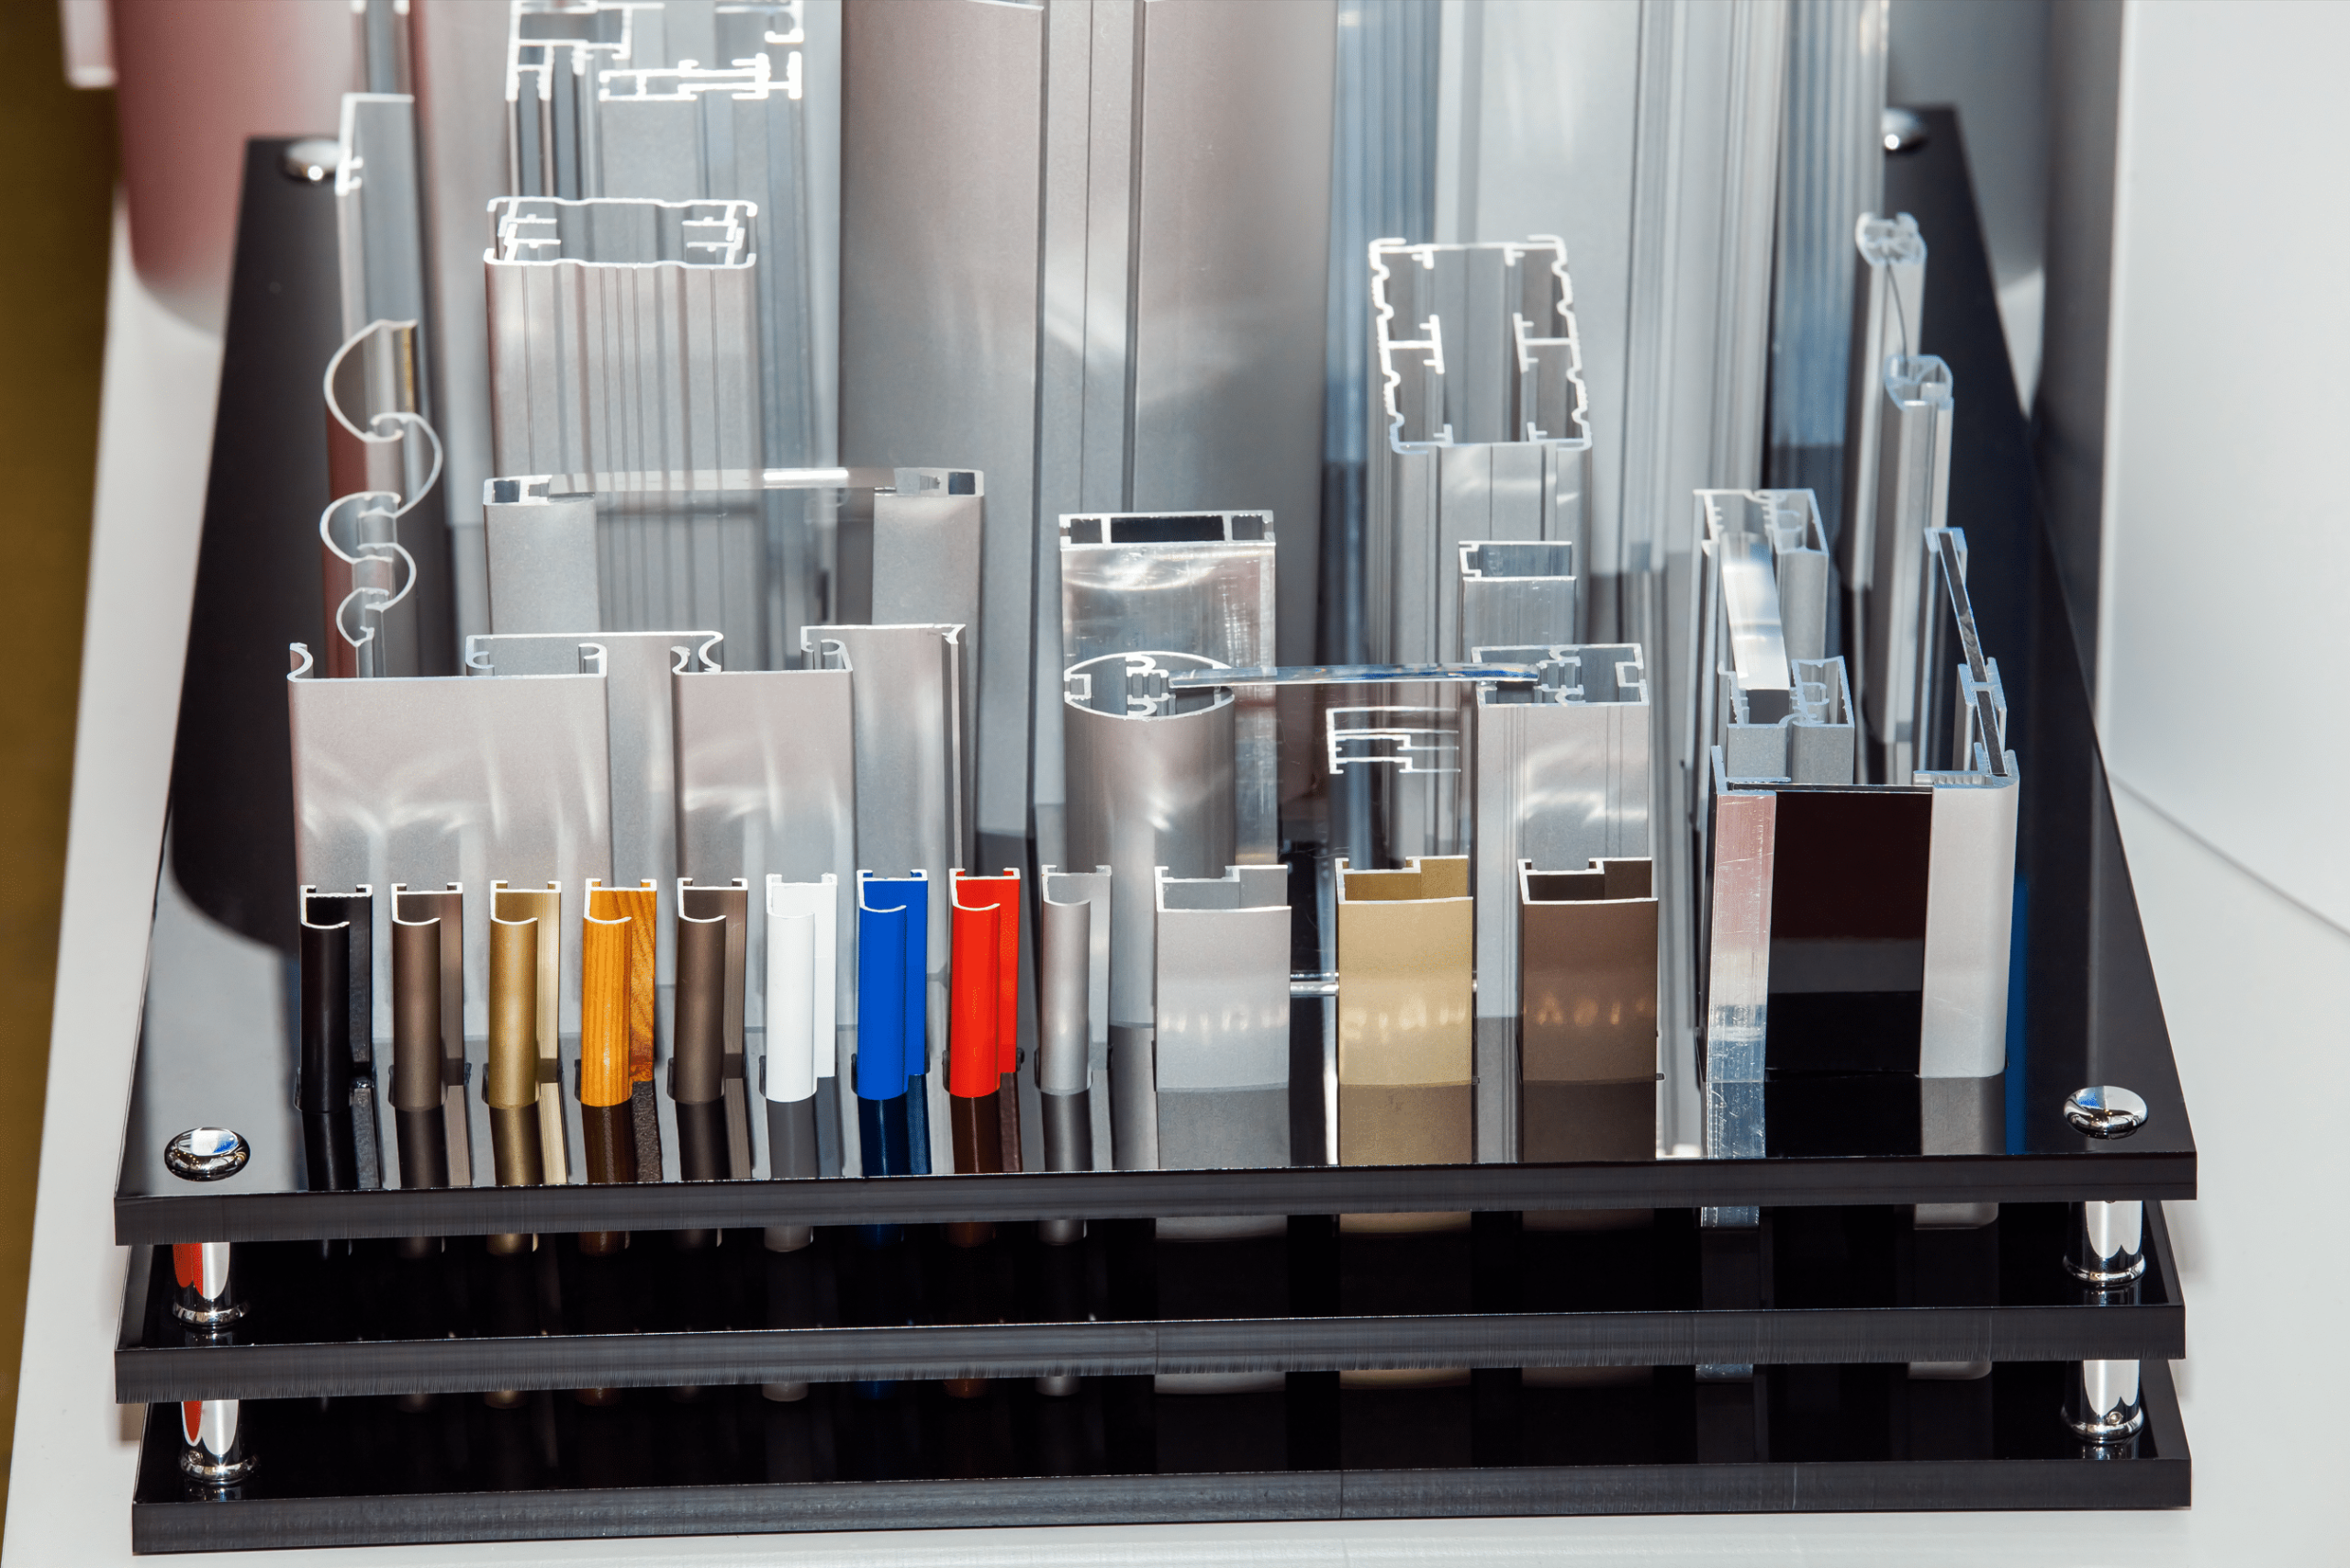
Anodisointi cURL Too many subrequests.
cURL Too many subrequests.
cURL Too many subrequests.
cURL Too many subrequests.
cURL Too many subrequests.
cURL Too many subrequests.
cURL Too many subrequests.
cURL Too many subrequests.
cURL Too many subrequests.
cURL Too many subrequests.cURL Too many subrequests.), toxic organics, and no solvents. The colors generated through anodizing use an insignificant amount of dye. In addition, anodizing produces no hazardous waste.
The compatibility of more and more non-ferrous metals with the anodizing process, will increase the number of recyclable metals used in industry and manufacture, and decrease the industrial demand for the durable metal. The environmental benefits of anodizing exceed the impact it has on a component’s life cycle, but constitute a reliable and environmentally safe industrial process.
Electrolyyttinen galvanoiminen
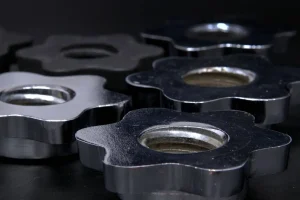
Electroplating is a method of plating metals onto other materials using electricity. It is commonly used to create decorative finishes on metal objects such as jewelry or automotive parts. The general process consists of immersing the object in a bath of an electrolytic solution, at high voltage using two electrodes; one at each end of the substrate. Ions from the electrolyte are then deposited onto the substrate’s surface, creating a thin and electrically conductive layer. The object can then be removed from the bath and rinsed with deionized water to remove any remaining electrolyte.
Electroplating has become very important in modern manufacturing processes because it provides several advantages over conventional methods. As an efficient and cost-effective method, compared with conventional methods, it allows for a higher quality finish with fewer imperfections on the surface.
cURL Too many subrequests.
The electroplating process is an important part of manufacturing metals and other materials that are typically found in electronic appliances. The process relies on an electrical current applied to the metal and conducting it to the substrate. The first step of the process is immersing the workpiece in an electrolytic cell; a bath composed of a mixture of chemicals, metals, and other substances.
Afterward, the electrodes are submerged in the electrolyte solution, and then connected to a power supply, and through the target substrate. The third step in electroplating is a cathode protection stage, which prevents corrosion during plating. Finally, the fourth step is called electrolysis, where an electric current causes ions to be released into the electrolyte solution.
Different Materials: Electroplating can be applied to various metals besides aluminum. Steel, for instance, is a widely used metal. Largely because of its strength and durability, it is used for outdoor application, but it can also get weak if exposed to a corrosive environment. Many industries rely on steel to ensure the quality of their products. The properties of steel however can be manipulated per the strength of its coating. As such, steel with aluminum plating can remain strong for years.
Materials:
Copper is a versatile and durable metal, which has been in use for thousands of years. It is generally applied as a conductor of electricity, and heat, used in the minting of coins, and production of jewelry and utensils. Copper is also corrosion-resistant and suitable for usages requiring solid and durable material. When copper is being soldered, the base metal layer (copper in this case) often has a second layer applied to it.
Aluminum electroplating has been a commonly used technique in the production of glassware for some years. This process gives the glass a strong protective layer and is an interesting way of making the surface of glass-made parts electrically conductive.
Learn More About Electroplating
Alodine
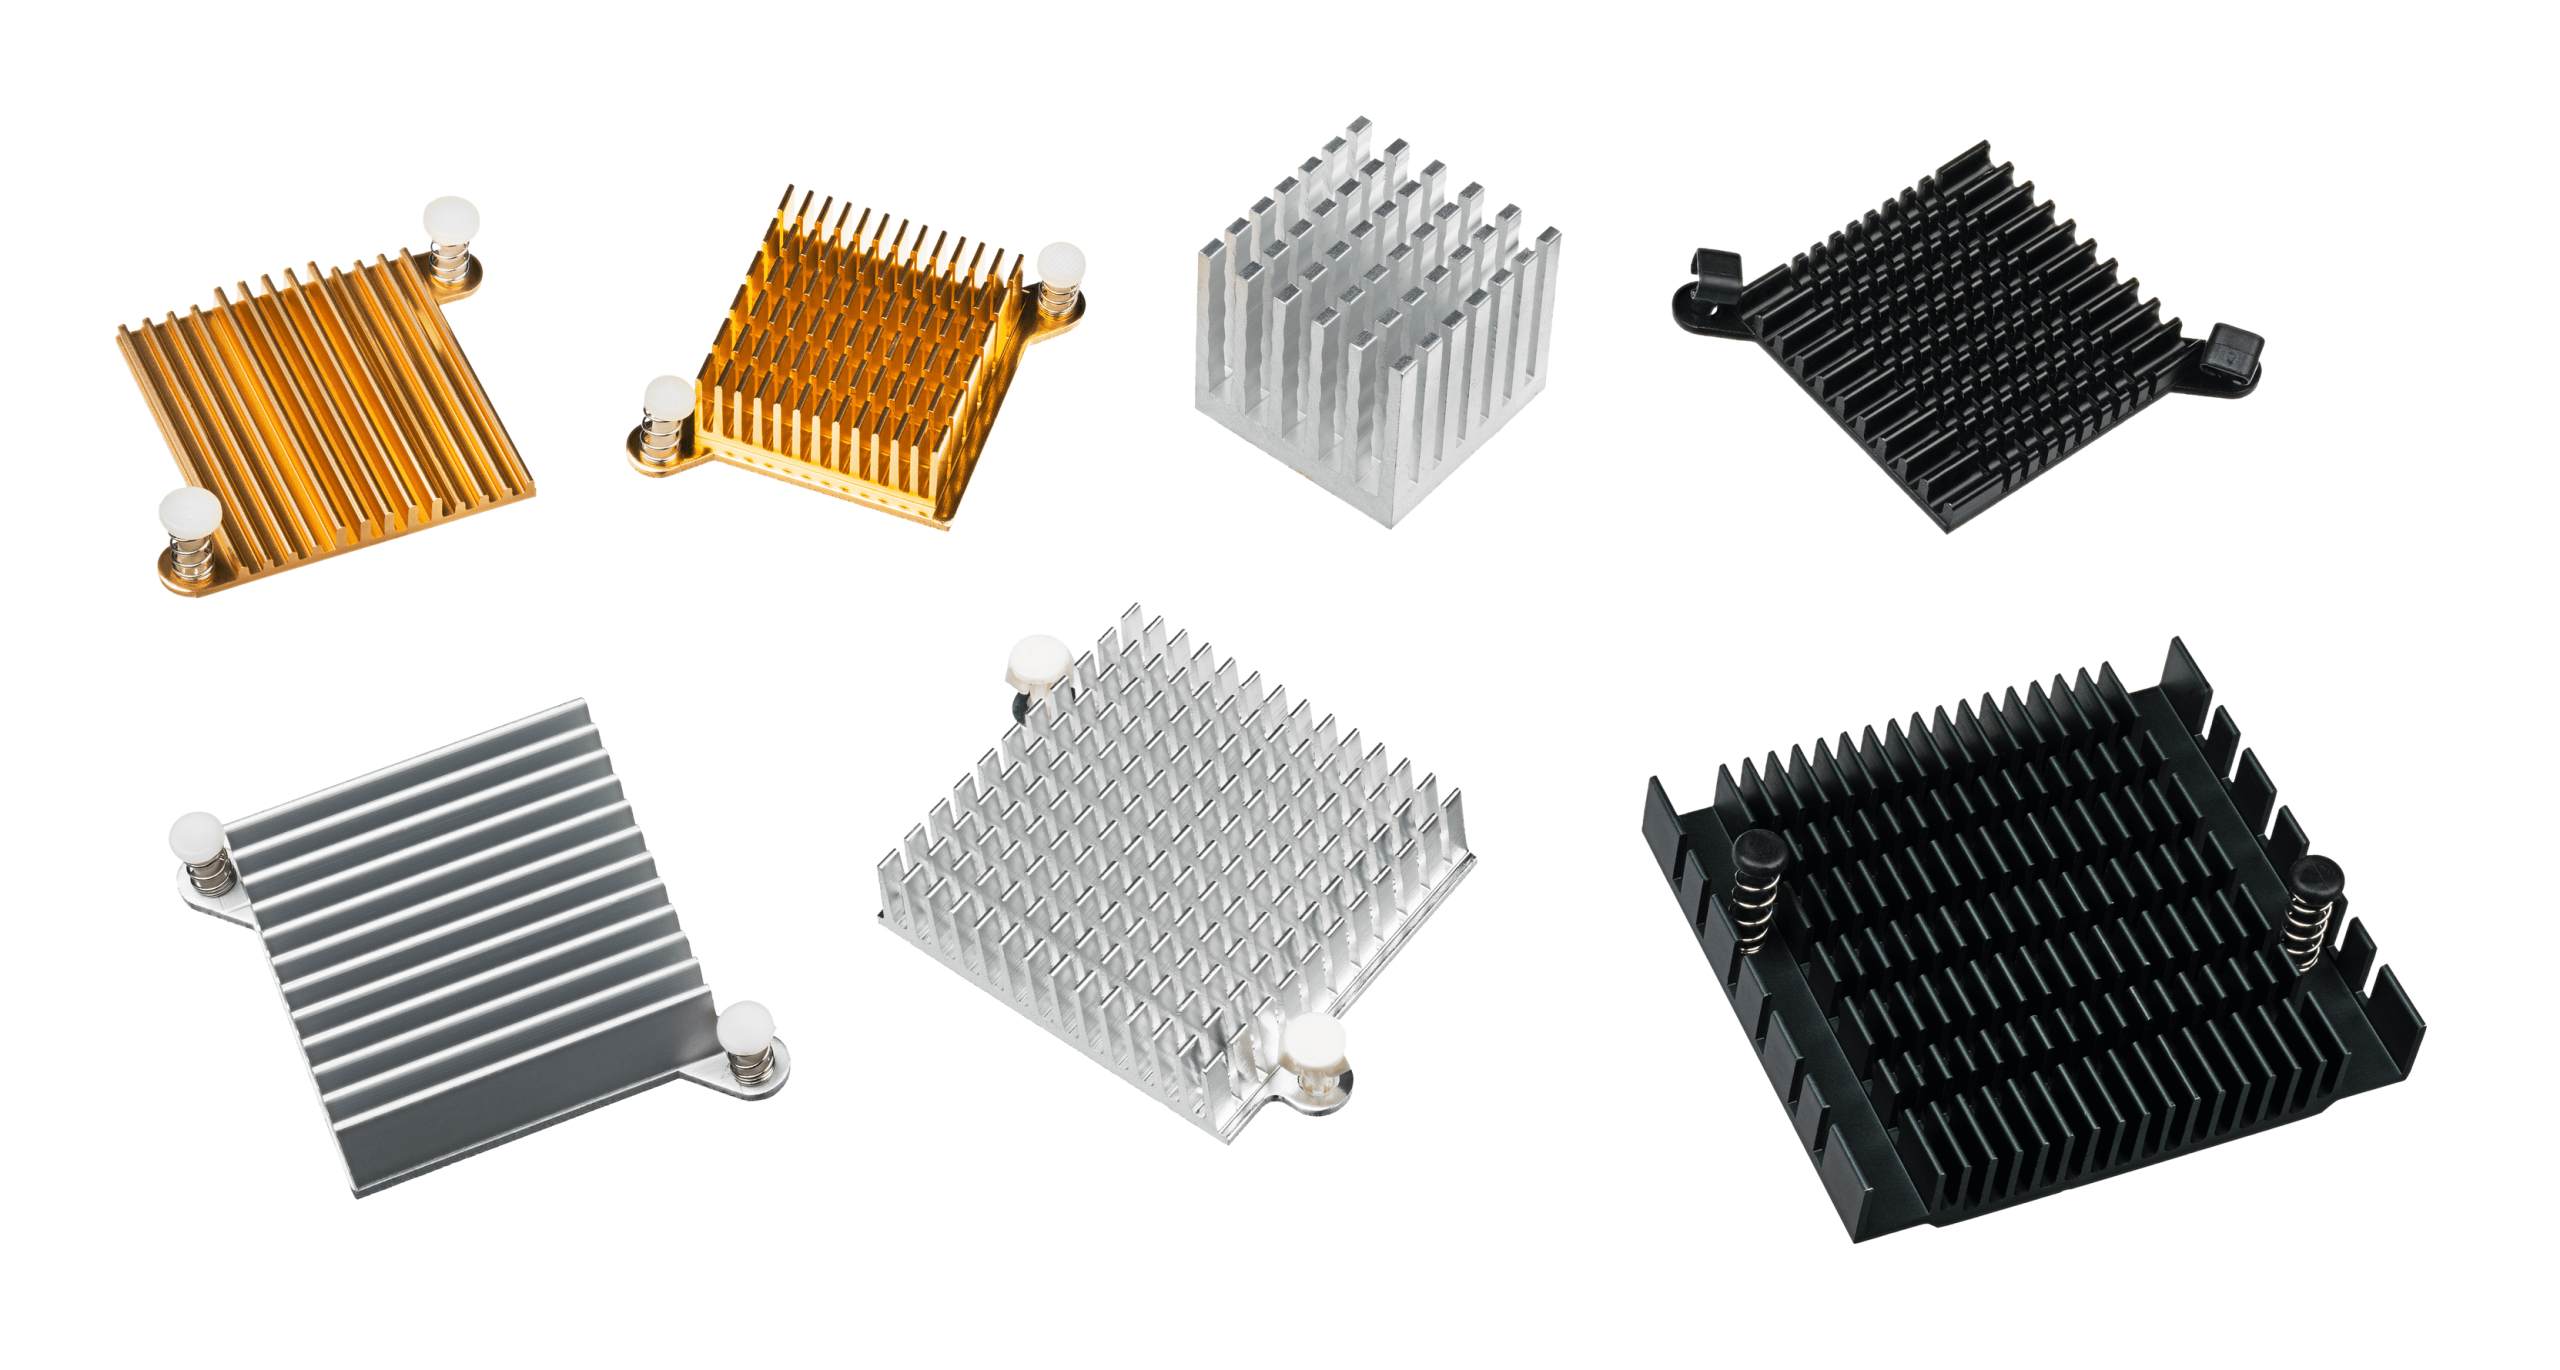
Alodine is a trading name for a chemical compound that is used as a corrosion inhibitor. It is a water-soluble, organic compound used to coat metal surfaces to protect them from corrosion. Alodine is mostly distributed as a powder, which can be mixed with water. There is also a pre-mixed variety available. This process is safe to apply on all types of metal, including stainless steel, copper, aluminum, brass, and bronze.
Alodine is used primarily as a corrosion inhibitor. It is more of a protective coating in this sense. The process is more akin to chromate conversion coating; a common method used for metals. Alodine generally forms a protective layer on top of the surface and can harden to the same consistency as the base material. Alodine not only prevents corrosion but also makes a product more durable.
Although Alodine chemically embeds into the surface of the workpiece, creating a corrosion-resistant coating, it does not alter the existing characteristics of the metal. An Alodine finish provides an improvement in corrosion resistance over the original metal, and can even render the material resistant to hazardous elements like chlorine gas.
Alodine and Different Metals:
A clear alodine coating is applied to aluminum parts to protect as a corrosion protection measure (anodic oxidation). The alodine aluminum chromate coating is formed by immersing the aluminum component in a bath of chromic acid and then rinsing it with water. For this application, the chemical solution consists usually of chromic acid. Clear alodine forms a layer when sprayed, and hardens when dried. It is often used for aluminum window frames, wheels, and grills.
Stainless steel parts are coated with a clear alodine coating that is similar to the coating used on aluminum. This coating creates a uniform, nonporous surface. The chemical reaction occurring between the steel surface and the alodine, at a temperature of 600 degrees Celsius is the main catalyst of this transformation. The coating is then removed after it forms and is cleaned. This process forms a protective barrier on the surface of the steel.
Benefits and Limitations:
Alodine finish is optimal for metal parts, and boasts numerous benefits. It offers optimal corrosion and wear resistance, with a protective coating that is compatible with several types of metal; steel, aluminum, stainless steel, and titanium. The surface finish and protection of alodine are also durable and can withstand harsh environments and conditions. As aluminum and heavy metals are mostly used in industrial operations and high traffic usages (aircraft, construction, industrial equipment), alodine finishes are quite vital to several sectors. The alodine finish is also cost-effective and relatively safe; it is used in the medical industry and doesn’t rely on any polluting or toxic materials. Alodine finishes have excellent adhesion to metals and are recycled easily.
These advantages are however offset by the limitations of this method which include the alodine solution, which can often be toxic to the skin. As far as industrial usage goes, alodine finishes are protective but less durable than other methods. The coloring that this method offers can often fade with time, especially for components used in high-traffic areas or outdoors. The choice of an alodine, compared to other methods, relies solely on the intended use of the final product.
Learn More About Alodine vs Anodize
Pölymaalipinnoite
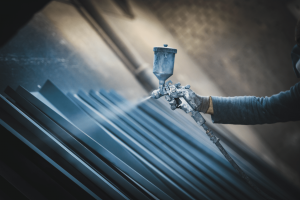
Viimeisten vuosikymmenten aikana jauhemaalaus on muodostunut jonkinlaiseksi teollisuuden standardiksi. Erityisesti metallimateriaaleille jauhemaalaus on nyt optimaalinen pintakäsittelyprosessi monenlaisille esineille, alkaen kodinkoneista teollisuus- ja autonosiin. Vaikka jauhemaalausta on pääasiassa käytetty metalliin, se voi myös peittää muita materiaaleja, kuten muovia, hiilikuitua ja MDF-levyä (keskipitkä tiheys kuitulevy).
In powder coating, a fine layer composed of free-flowing powder is applied to the surface of the substrate. The main process consists of propelling the powder particles using an electrostatic charge. The powder then embeds into the microscopic pores and cracks in the surface. The powder is then fused with heat and pressure, forming an even coat on top of the base material. The powder is a generally preferred method of surface finish and dye as it’s much cleaner and produces no volatile organic compounds (VOCs). This method significantly decreases the cost of pollution control. Another advantage is that powder coating produces a much thicker and firmer coat, compared to paint.
General Process:
As in several processes, the first is the preparation of the surface. The substrate’s surface is cleaned, and its impurities are removed through different methods. Depending on the substrate’s material, different methods can be applied. Heat-sensitive materials like plastic have only recently become compatible with this method, largely enabled by the breakthroughs in plasma pretreatment.
Sovellusvaihe koostuu varsinaisesta pinnoituksesta. Tämä prosessi vaatii yleensä sähköstaattisen ruiskupistoolin. Kun jauhe ruiskutetaan alustalle, sähköstaattinen varaus nopeuttaa sitä kohti työkappaletta.
The final step is the curing or heating stage. The powder is exposed to heat, dissolving it into a uniform layer. After cooling, the coating solidifies and forms a consistent protective layer. Some solid materials like iron are usually preheated before coating, which helps avoid some coating inconsistencies later in the process. Curing ovens are usually required for this process; a specialized industrial oven capable of reaching very high temperatures ranging between 162 and 232 degrees Celsius (325 to 450 Fahrenheit). For this range, most materials require a curing time of between 10 minutes and an hour.
Metallic and Protective Coatings:
Metallic coatings can also constitute a distinct method, as they serve mainly a protective purpose. A metallic coating essentially transforms some of the properties of the substrate. The use of metallic materials, usually zinc alloy or aluminum, creates a very solid coating on the surface. There are several common methods to this process. Usually, metal or iron are coated with zinc, by passing the material through molten zinc at a temperature of 460 C (860 F). This is known as kuumaksi sinkkipinnoitukseksi.
- Thermal spraying is also a very common powder coating method. This process relies on coating the surface with a finely divided, semi-molten metallic material.
- Sheradointi on toinen metallipinnoitustapa. Tämä menetelmä koostuu alustan lämmittämisestä tiiviissä astiassa sinkkipölyn kanssa. Lämmön diffuusioprosessin aikana muodostuu sinkki-rautaseos, joka muodostaa suojakerroksen ja upotetaan alustan pintaan.
Common Applications:
Pölymaalipinnoitus on erittäin yleinen menetelmä useimmissa valmistustoiminnoissa eri teollisuudenaloilla. Ulkokerroksen tarjoama kestävyys ja korroosionkestävyys, yhdistettynä kustannustehokkuuteen ja helppouteen, tekevät siitä yhden luotettavimmista pintakäsittelymenetelmistä.
Several automotive components rely on powder coating. This process applies to anything from door handles and bumpers to brake components and battery trays, as well as medical equipment. This is largely due to the anti-corrosion properties of this method. Powder coating applies to some electrical components as well, notably connectors, lighting fixtures, and electrical junction boxes. Nowadays, many types of equipment, machine, and appliances go through this process, it has become the standard in other industries.
Jotkut metallipinnoitteet toimivat vain suojakerroksena alustan suojaamiseksi, ehkäisten korroosiota, kemiallista kulumista ja kestävät ankaria ympäristöjä. Tämä sovelletaan yleisimmin teräkseen.
Characteristics Of Surface Finishes
Korroosionkestävyys:
This is a common trait shared by all of the above-mentioned surface finishing methods. Yet, some techniques can deliver this trait more than others, depending on the substrate’s material. Metal components are usually the most demanding in terms of a protective surface layer. For most applications, metal components are usually finished in a method that provides a protective layer. Polishing and anodizing are the most commonly used for this quality. Generally, electrolytic or chemical-based finishing processes offer better surface protection and corrosion and wear resistance. Mechanical finish methods are mostly used to prepare a solid surface compatible with the requirements of a chemical or electrolytic process. The powder is also a commonly used method for this purpose. This method is however mostly compatible with usages requiring specific coloring effects and textures, usually unattainable with other methods. The additional layer produced by powder coating has protective qualities, providing an impermeable coating, which preserves the material from decay.
cURL Too many subrequests.
cURL Too many subrequests.
cURL Too many subrequests.
cURL Too many subrequests. cURL Too many subrequests. cURL Too many subrequests.
Yhteenveto
cURL Too many subrequests.


