Prototypes are physical manifestations of ideas, on-going iterations of a product during its development. They are essential to the evolution of a product, as they allow engineers to test a tangible version of their project, and then make changes based on the outcomes; to design ‘iteratively’. Prototyping during product design leads to well-designed products that work.
Table of Contents
What is a Working Prototype?
There are a few different types of prototypes, ranging from less realistic (‘low-fidelity, non-functional or partially functional) to more realistic (high-fidelity, functional, comparable to final products). A ‘working’ prototype is one that functions like the final product will, therefore allowing concepts and processes to be tested. This is essential in order to properly understand how well the product fulfills its purpose, or if it does at all. In this article, we will explore the difference between functional and non-functional prototypes and the best ways to get a working prototype made.
Functional vs Non-functional Prototypes
Non-functional prototypes still have their uses in product development, as aesthetic models used to refine the product’s appearance or to showcase it before it’s manufacture, but it cannot be denied that working prototypes are more important in the product development journey.
Functional prototypes come in varying degrees of accuracy to the final product, some are basic and rudimentary, and others are comparable to the end product. However, the low-fidelity examples shouldn’t be overlooked as they play a role in the early stages of development, a time in the development process which is arguably the most significant.
building a working or functional prototype from wood
A prototype that does the job. In episode six of our podcast, Rich Walker, director of Shadow Robots, shared, “The first hand we built was hand carved out of wood.” Their second prototype was then mostly cut out of thin perspex sheets combined with aluminium scraps.
Shadow Robot’s wooden prototype enabled them to eventually develop the world’s most dexterous robot hand, done so with incredibly high-tech materials and intricate design. The value in even basic working prototypes shouldn’t be underestimated.
Working Prototype Manufacturing Methods
While building a working prototype using carved wood or scraps of paper is great, it’s often a lot faster and easier to make iterations using the manufacturing technologies available. Here are the most recommended rapid prototyping processes for making working prototypes:
1. 3D Printing
Additive manufacturing is a common method of prototyping, specifically for projects which need their prototypes particularly fast. This is great for product developers who are engaging in iterative design, where speed is key to the process. 3D printing is the fastest, easiest, and often the most cost-effective approach to prototyping.
advantages and disadvantages of 3d printing
3D printing is an umbrella term that describes a range of specific processes. Each of these have their own advantages and disadvantages to suit different projects, including compatible material choices specific to each.
Additive manufacturing technologies are quick but not all printers are suitable for functional applications. Some of the most popular 3D printing technologies for building functional prototypes include Selective Laser Sintering (SLS) and Multi-Jet Fusion (MJF).
2. Vacuum Casting
Vacuum casting takes the aesthetic benefits of 3D printing and combines them with the ability to produce less fragile, functional parts. As a process it’s relatively fast and inexpensive, providing a quick production lead time without compromising the quality of the prototype. It’s ideal for producing accurate and detailed functional parts with production-like results, including the items colour, finish and texture.
In addition to this, you can also use vacuum casting prototyping to test a range of polyurethane materials and their compatibility to your product’s use. Vacuum casting is a good option for those who want the best of both worlds in their prototype, items that can represent the aesthetics accurately as well as being functional.
Creating a working prototype using vacuum casting techniques
Having said this, when prototyping, a very small volume of units is required to test the product, sometimes only one piece is required. However, a custom mould must be created for vacuum casting to take place, This could incur additional cost and lead time for engineers who need only a few units at the most.
Having said this, prototyping only requires a small number of units to test the product, more often than not only one is required, and in vacuum casting, a new custom mould would have to be created for every new iteration. This could cost developers additional time and money, so it’s something to take into consideration when deciding which process is best for you.
3. CNC Machining
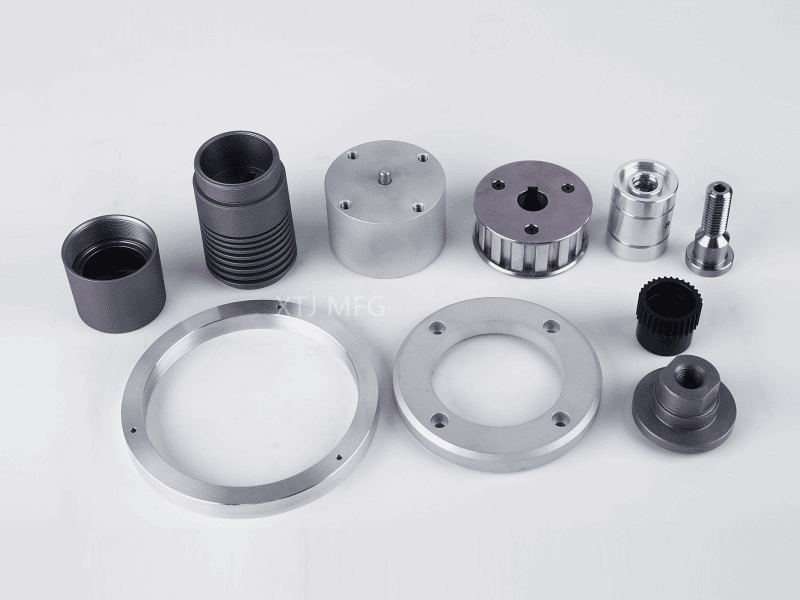
CNC machining does not require a mould, so saves time and cost, and creates fully functional final-use prototypes. Not only does this method give you the opportunity to run tests on a range of production-grade materials (including both metals and plastics) but also the accuracy that CNC provides is invaluable in prototyping.
The more precise the prototype, the more accurate the results of testing, and the faster the development of the product. CNC is so accurate that form, tolerances and how well the parts fit together can be trialed with these prototypes. This process produces fully functional prototypes that could be the final product, so much so that a lot of time and money could be cut out of the product development journey.
XTJ is a leading OEM Manufacturer that is dedicated to providing one-stop manufacturing solutions from prototype to production. We are proud to be an ISO 9001 certified system quality management company and we are determined to create value in every customer relationship. We do that through collaboration, innovation, process improvements, and exceptional workmanship.

